Course
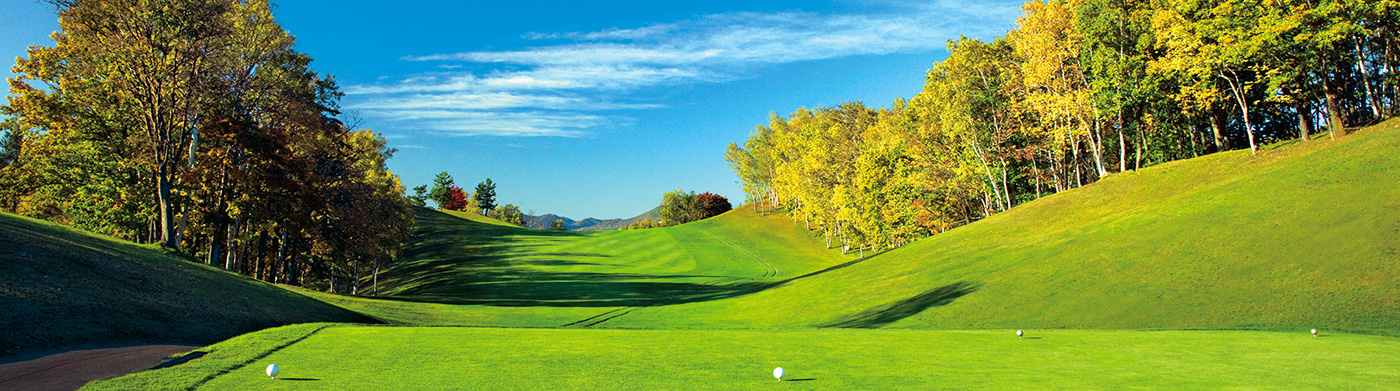
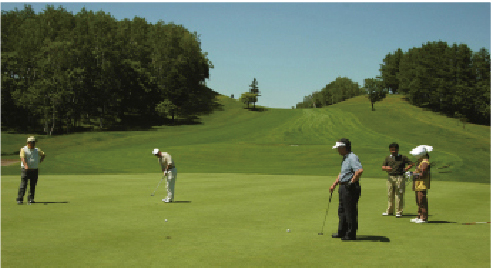
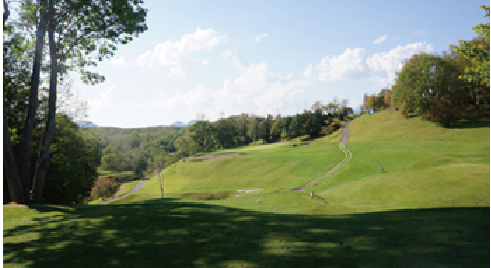
Designed by the renowned golf course architect Taizo Kawata, this course seamlessly blends natural beauty with a sense of tranquility.
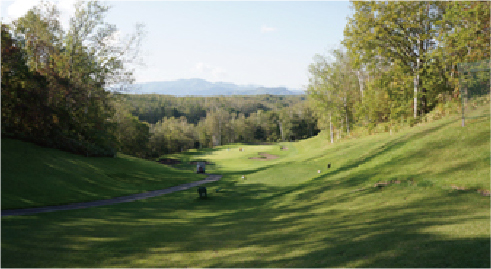
The breathtaking location offers sweeping views of the surrounding mountains, from Mt. Eniwa to Mt. Yoichi.
OUT Course
-
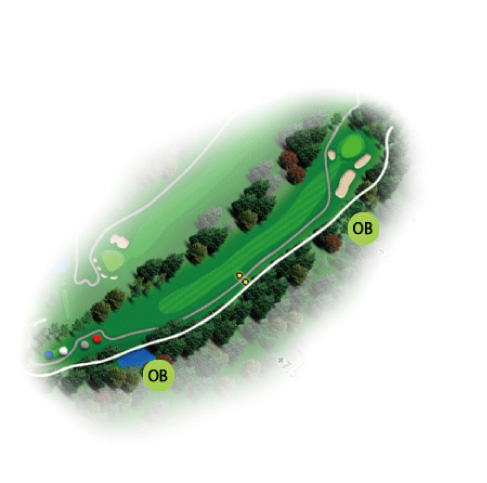
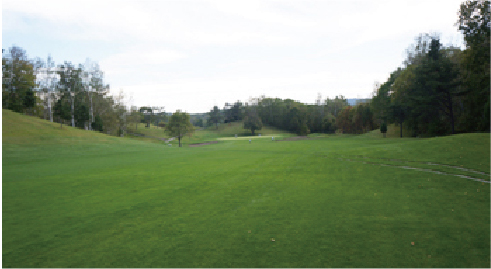
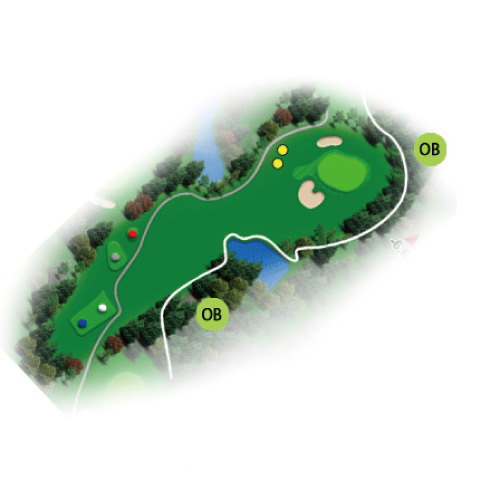
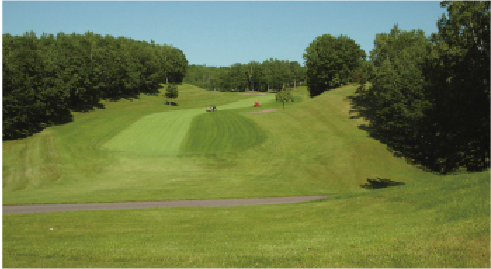
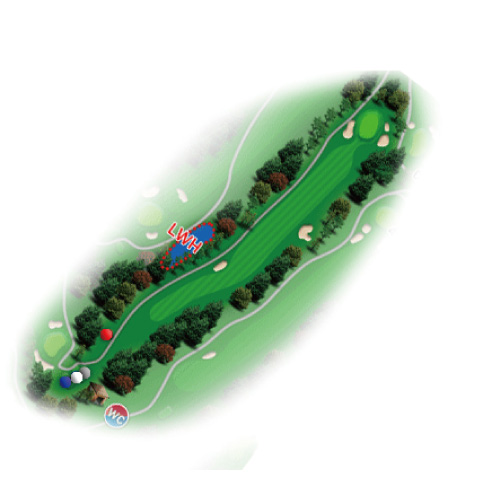
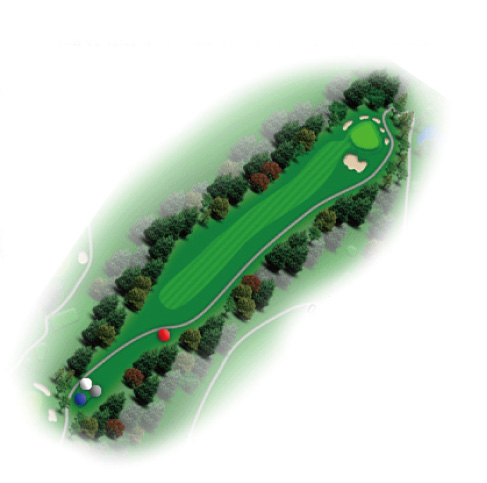
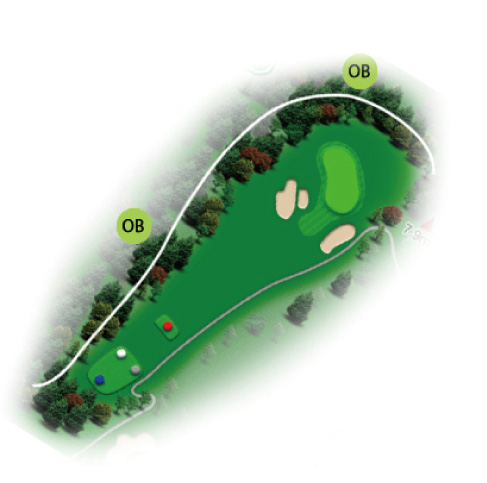
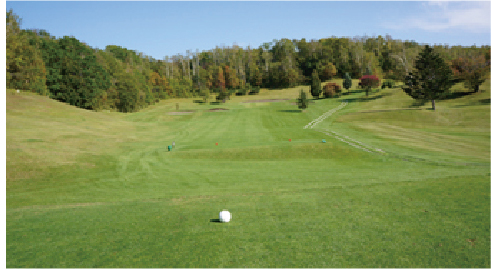
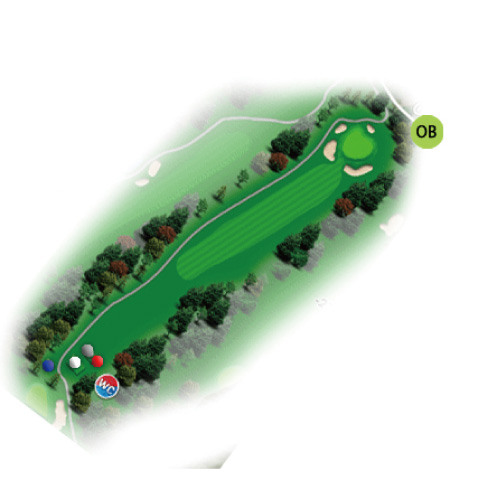
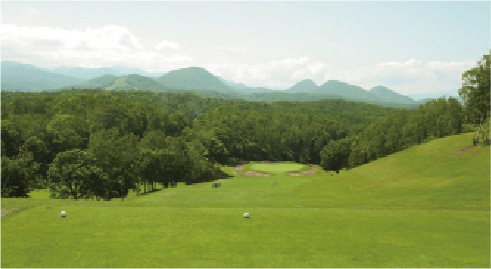
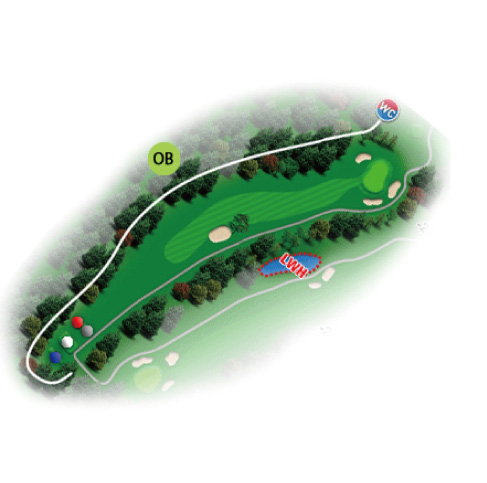
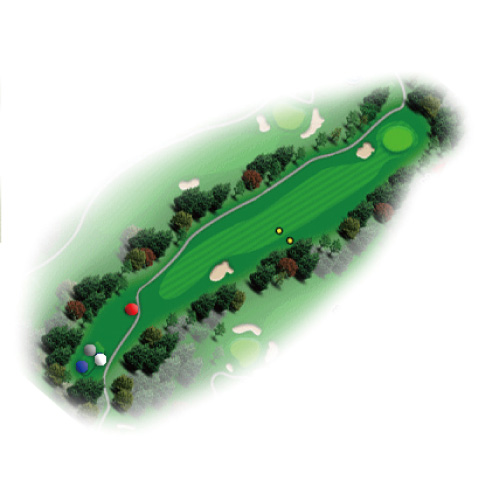
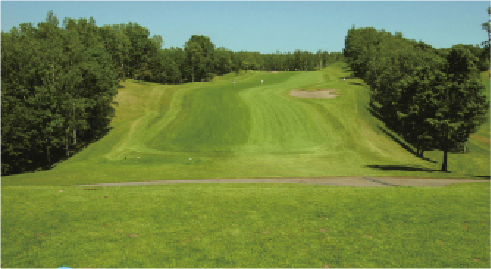
Hole1

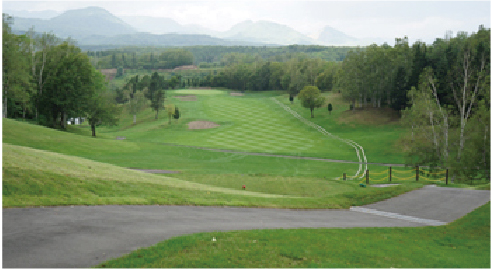
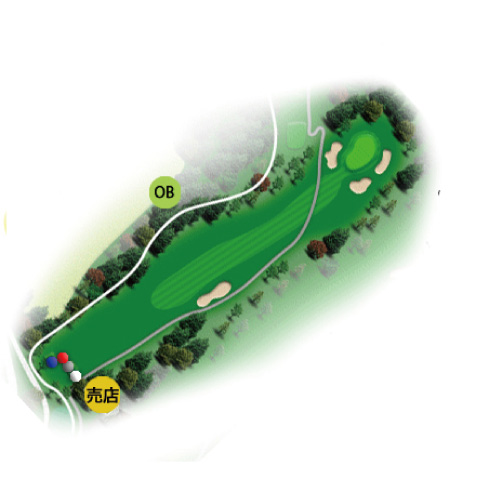
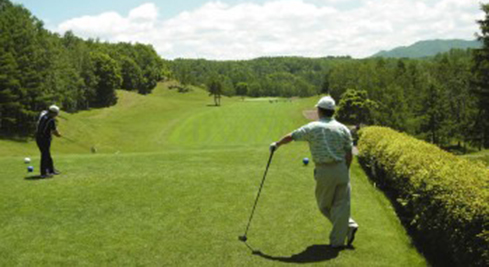
A downhill opening hole. Beware of the valley on the left. OB zones are on the front left and on the right side. The right bunker can be carried at 265 yards. Approach the green from the front and avoid overshooting.
PAR 4 RGL TEE 346 HDCP 15 FRONT TEE 327 CHAMP TEE 360 LADYS TEE 313 -
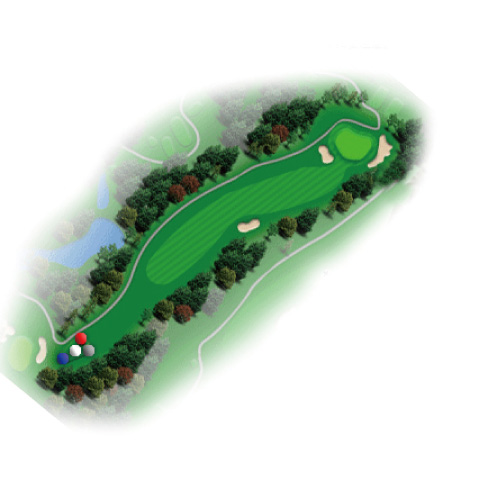
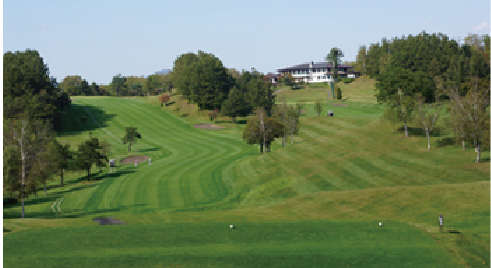
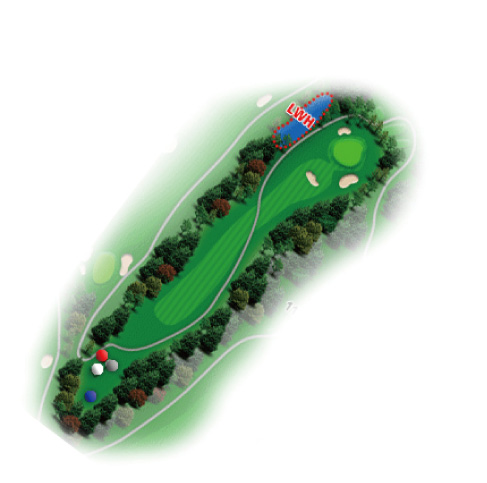
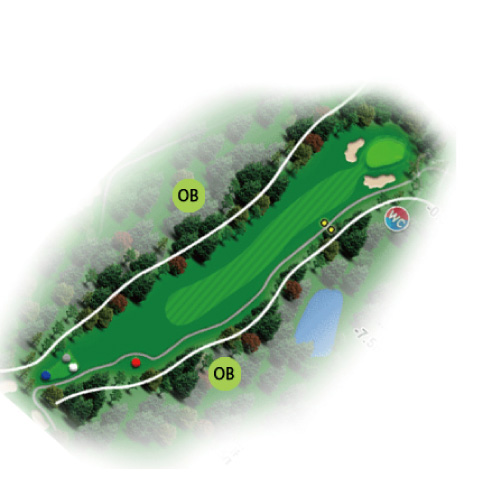
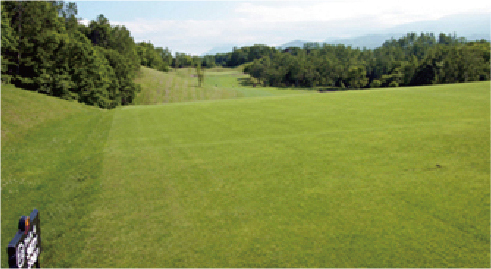
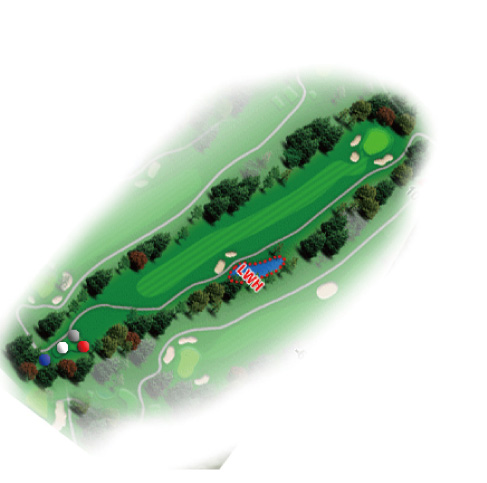
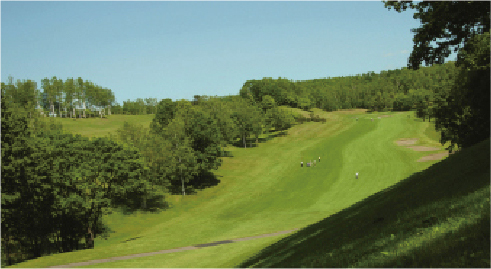
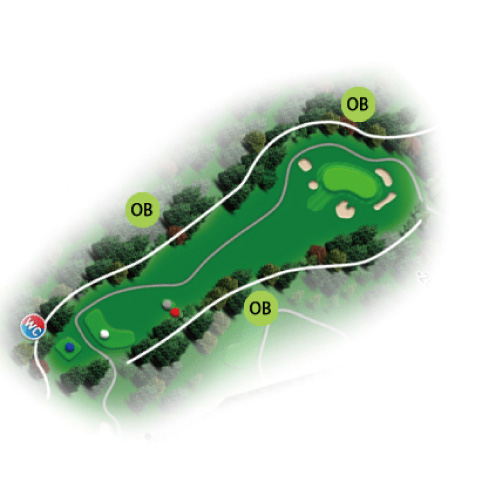
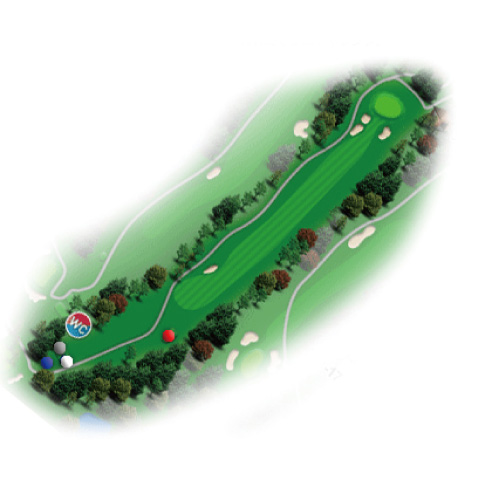
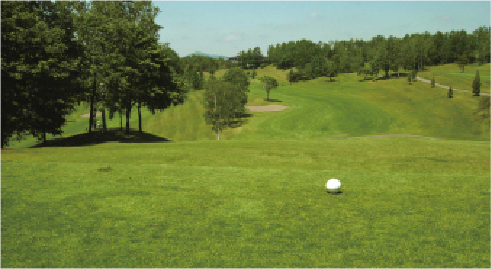
Hole2
A slightly uphill par 5. The right side is OB, so aim for the left fairway. A single pine tree serves as a landmark for the second shot, though long hitters can go for the green in two.
PAR 5 RGL TEE 499 HDCP 13 FRONT TEE 461 CHAMP TEE 518 LADYS TEE 435 -
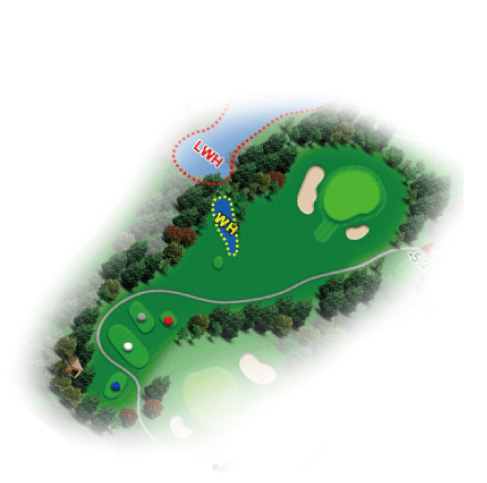
Hole3
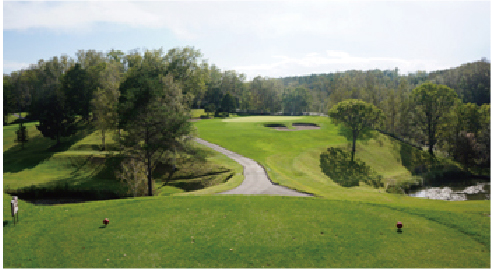
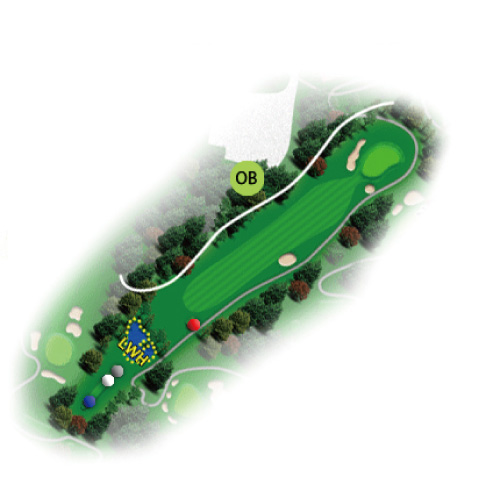
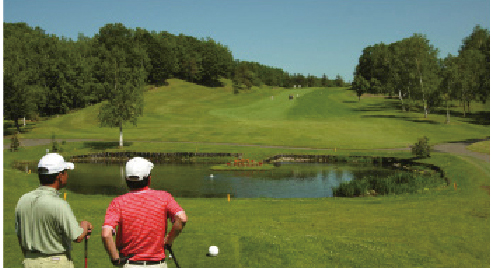
A short hole over water. The right side and the pond are OB. Aim for the left side of the green, while avoiding bunkers at the front and back. Watch out for the green's slope and speed.
PAR 3 RGL TEE 186 HDCP 5 FRONT TEE 159 CHAMP TEE 202 LADYS TEE 136 -
Hole4
Target the left side of the bunker. Carrying the bunker requires 212 yards. Be precise with your approach to avoid the bunker guarding the green. Be mindful of tricky putting on the green.
PAR 4 RGL TEE 330 HDCP 11 FRONT TEE 318 CHAMP TEE 348 LADYS TEE 318 -
Hole5
A downhill hole. Beware of the pond on the left. Aim for the right slope, but avoid hitting too high up, as the second shot becomes difficult. A two-tiered green requires careful club selection based on pin position.
PAR 5 RGL TEE 515 HDCP 9 FRONT TEE 504 CHAMP TEE 538 LADYS TEE 427 -
Hole6
Aim slightly right of the tree in front. The fairway slopes downward 200 yards, allowing for extra distance. The approach is downhill, so distance control is key. A pond awaits on the left, and a front bunker adds to the challenge.
PAR 4 RGL TEE 386 HDCP 1 FRONT TEE 373 CHAMP TEE 420 LADYS TEE 358 -
Hole7
The shortest par 3 on the course. The greenside bunkers are deep, so aim slightly long. A water hazard sits on the left. If it's windy, consider a right-side approach.
PAR 3 RGL TEE 165 HDCP 17 FRONT TEE 145 CHAMP TEE 186 LADY'S TEE 129 -
Hole8

Slightly right of center is the ideal target. The second shot is downhill, so dropping one to two clubs can still reach the green. However, avoid overshooting at all costs. Watch out for the bunker at the front right of the green.
PAR 4 RGL TEE 410 HDCP 7 FRONT TEE 410 CHAMP TEE 420 LADYS TEE 308 -
Hole9
A gentle uphill fairway. The best approach is from the left. The second shot must consider the three-tiered green, so checking the pin position is essential. The green is fast from back to front.
PAR 4 RGL TEE 353 HDCP 3 FRONT TEE 321 CHAMP TEE 371 LADYS TEE 263
IN Course
-
Hole10
A downhill hole. Aim just right of the lone tree on the left. Avoid overshooting the green.
PAR 4 RGL TEE 359 HDCP 16 FRONT TEE 339 CHAMP TEE 379 LADYS TEE 318 -
Hole11
A slightly uphill par 3. The hole plays longer than it looks. If the pin is on the left of the wide green, consider taking one or two more clubs. The green has a two-tiered layout from left to right.
PAR 3 RGL TEE 161 HDCP 14 FRONT TEE 161 CHAMP TEE 177 LADYS TEE 126 -
Hole12
A downhill hole with a fairway that slopes right. The right side tends to lead to OB. Aim for the middle of the left slope. The second shot is uphill—favor the right side of the green. A deep, narrow green makes pin position crucial. Do not overshoot.
PAR 4 RGL TEE 367 HDCP 8 FRONT TEE 367 CHAMP TEE 378 LADYS TEE 300 -
Hole13
A steep downhill hole, great for a chance to get on the green in one. Watch for trouble on the left and trees on the right. The second shot is from a downhill stance, making OB more likely if your club selection is off.
PAR 4 RGL TEE 356 HDCP 18 FRONT TEE 337 CHAMP TEE 376 LADYS TEE 337 -
Hole14
A downhill hole. Watch out for OB and water hazards on the front right. The second shot is uphill. The elevated green is two-tiered—pin placement is key.
PAR 5 RGL TEE 461 HDCP 10 FRONT TEE 444 CHAMP TEE 476 LADYS TEE 420 -
Hole15
A downhill right dogleg. Be cautious—the right bunker is close to the water. However, aiming too far left risks OB. A well-placed tee shot is crucial.
PAR 4 RGL TEE 391 HDCP 4 FRONT TEE 366 CHAMP TEE 410 LADYS TEE 366 -
Hole16
A downhill hole. Club selection depends on the pin position. Aim for the right side, as the area in front of the bunker provides an easier approach. OB on both sides, particularly for left miss-hits.
PAR 3 RGL TEE 198 HDCP 6 FRONT TEE 159 CHAMP TEE 239 LADYS TEE 159 -
Hole17
A slight uphill hole. It takes 172 yards to carry the right bunker. Avoid falling into the valleys on both sides. The slightly elevated green requires a strong approach shot. The green is fast from back to front.
PAR 4 RGL TEE 389 HDCP 2 FRONT TEE 389 CHAMP TEE 410 LADYS TEE 322 -
Hole18
A downhill opening hole. If the ball lands in the left valley near the bunker, trouble awaits. The second shot is on a left-leaning slope, so aim right. With the wind's help, going for the green in two is a rewarding challenge.
PAR 5 RGL TEE 506 HDCP 12 FRONT TEE 506 CHAMP TEE 536 LADYS TEE 433